Each learning resource screen features many optional fields that can be used to provide additional information, assign settings, and allow more control for administrators. This document provides an explanation of these optional fields. For quick, step-by-step instructions on setting up a Facilitated course, please see Setting Up a Facilitated Course.
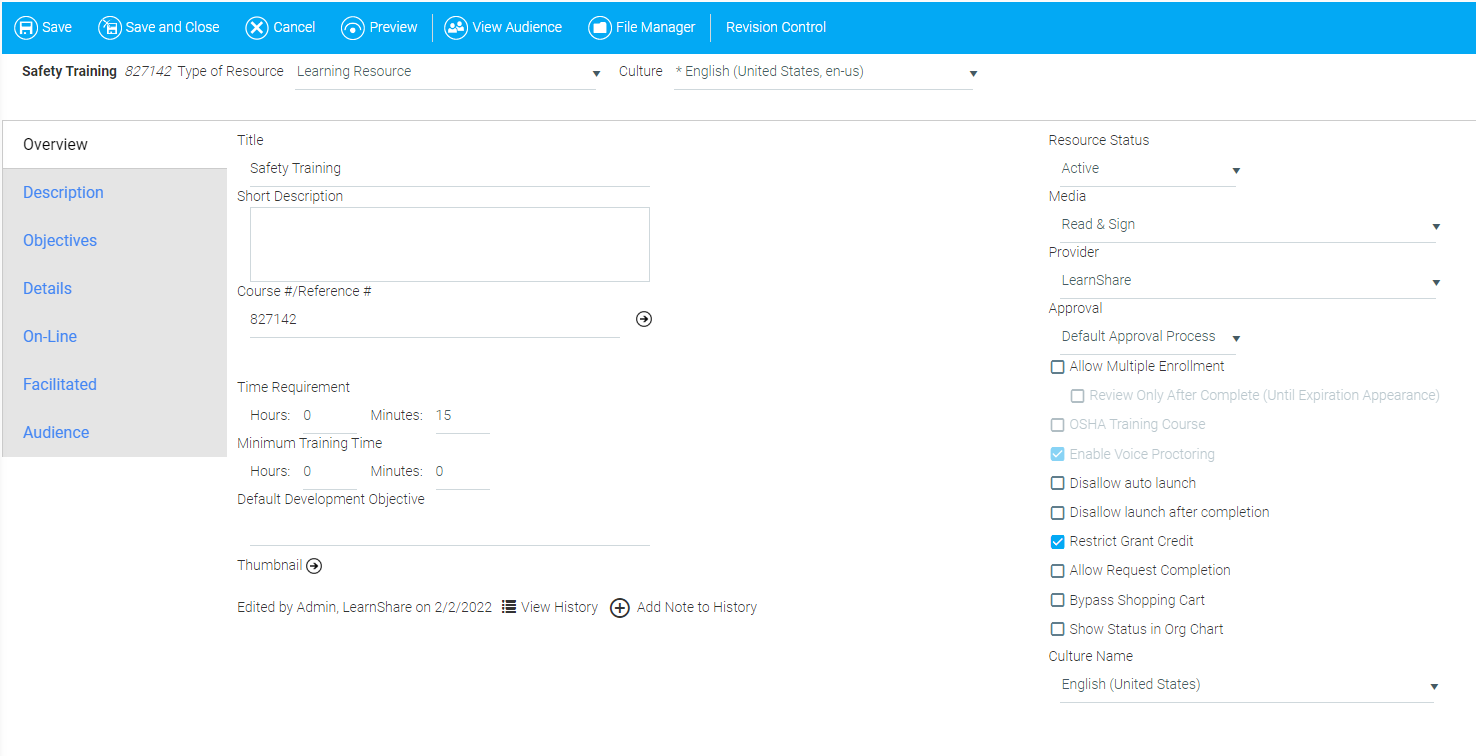
Short Description: Use this field to provide a description of the training resource that will appear in the Course Catalog. This field has a maximum character limit of 445.
Course #/Reference #: Assign a course and/or reference number to the resource. The system will automatically generate a number, but you have the ability to change it to fit any naming or tracking protocols that your organization implements. For example, some organizations use specific abbreviations before the assigned number to indicate the business unit, department, team, etc. that the training applies to. You can use the arrow to the right of this field to verify that this number is unique in your system.
Default Development Objective: Use this field to assign an objective to the resource. Depending on the configuration of your system, this may appear on the user's Development Plan/History.
Thumbnail: Click the arrow to upload a thumbnail image for this resource. It will appear on the Course Description page.
Approval: Use the drop-down box to select the approval rules for this resource (e.g., Default Approval Process, Always Require Approval, or Never Require Approval).
Allow Multiple Enrollment: Check this box to enable users to enroll and be granted credit in this resource multiple times. This option should be used for any resource that requires a separate completion date for each time that a user completes the resource. A user must complete the resource before being able to enroll in it again.
Review Only After Complete (Until Expiration Appearance): This is only available if Allow Multiple Enrollments is selected. When this box is checked, a user will be given the option to launch a previously completed course in Review Mode rather than completing the course again. If a user chooses this option, a new enrollment for that course will be created on each Review Mode launch.
Disallow Launch After Completion: Check this box to restrict users from being able to launch a completed course from their Learning History.
Restrict Grant Credit: Check this box to restrict access to this resource to Company Administrators. When this box is left unchecked, any security role that has access to the Manage Credit and Enrollment screen will have access to the resource.
Bypass Shopping Cart: Check this box to suppress the shopping cart for resources that have a cost.
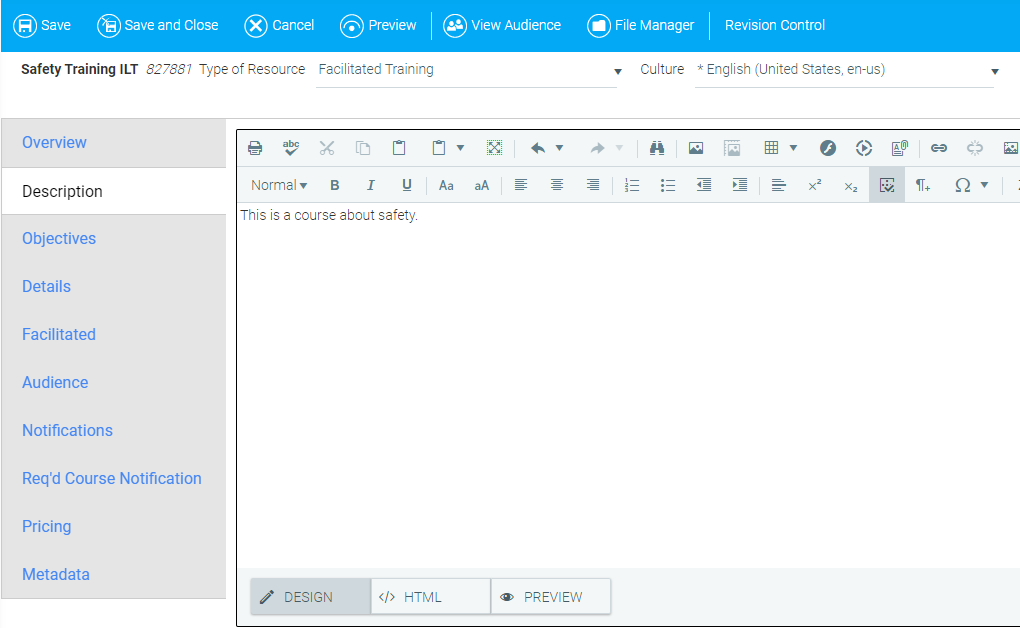
Use this tab to enter the Long Description of this resource. This can be copied from the Short Description field on the Overview Tab, if desired.
The Description tab is a rich text field which can contain images and formatting. For more information about formatting your description, refer to Using the Rich Text Editor.
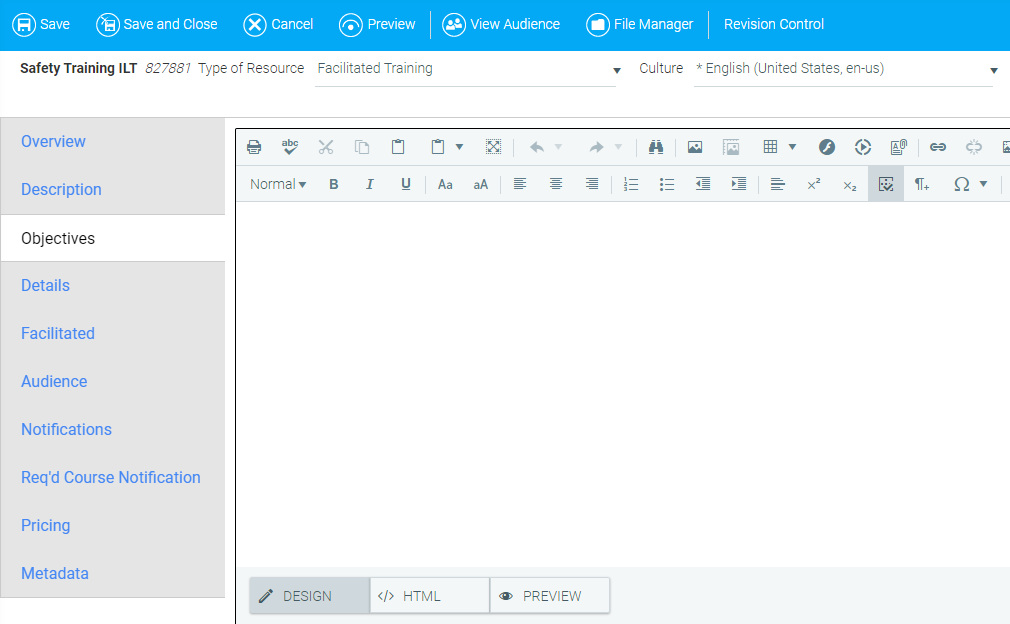
Use the Objectives tab to enter course objectives for the resource. The listed objectives will be visible on the Display Resource screen along with the course description.
The Objectives tab is a rich text field which can contain images and formatting. For more information about formatting your objectives, refer to Using the Rich Text Editor.
The Details tab may appear with several sub-tabs including Details, Owners, Prerequisite, Equivalence, Properties, and Recommendations. The appearance of certain sub-tabs will depend on your previous selections for the resource and the configuration of your system.
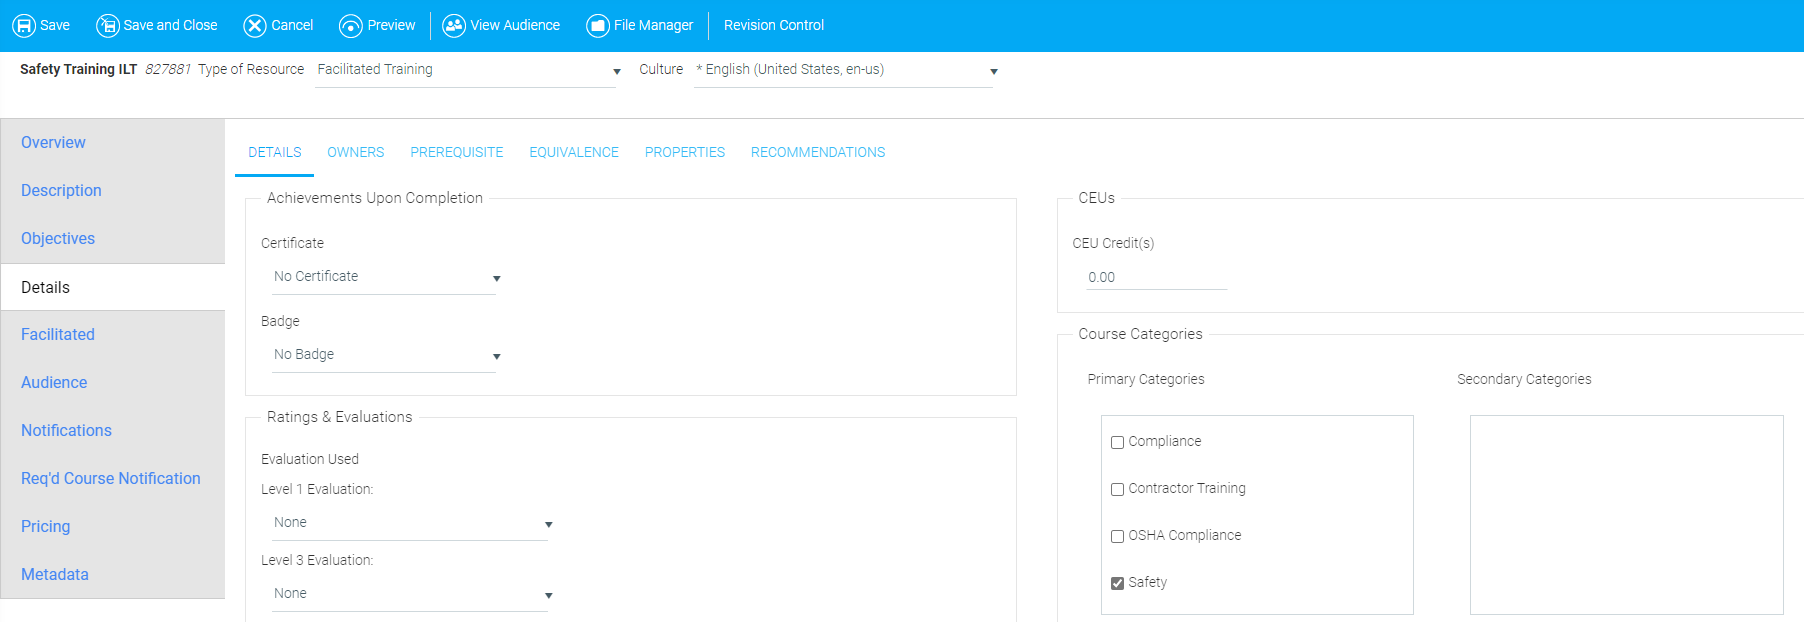
Certificate: If you select to have a certificate of completion for a resource, it will display in the user's Learning History after completion. Certificates of completion must be created and maintained on the Maintain Certificates of Completion screen.
Badge: If a badge is selected, it will display in the user's Awards List widget (if used). Badges must be created and managed on the Maintain Badges screen.
Ratings & Evaluations
Evaluation Used: This list will be limited to evaluations already set up for your organization. Additional evaluations can be created on the Maintain LMS Evaluations screen. Links to evaluations are sent via email and appear on the Pending Evaluations section of the user's Learning Plan.
- Level 1 Evaluations are sent the evening of course completion for online resources and the evening that credit is granted for facilitated resources.
-Level 3 Evaluations are sent 30 days after the course completion date.
CEU Credit(s): This indicates the number of Continuing Education Unit credits for this resource. If this is not a continuing education course, leave this field set to 0.00.
Course Categories
Course Categories (both primary and secondary) are used to organize resources for reporting and can be used as filters to search the Course Catalog. These categories can be created and maintained from the Maintain Content Categories screen.
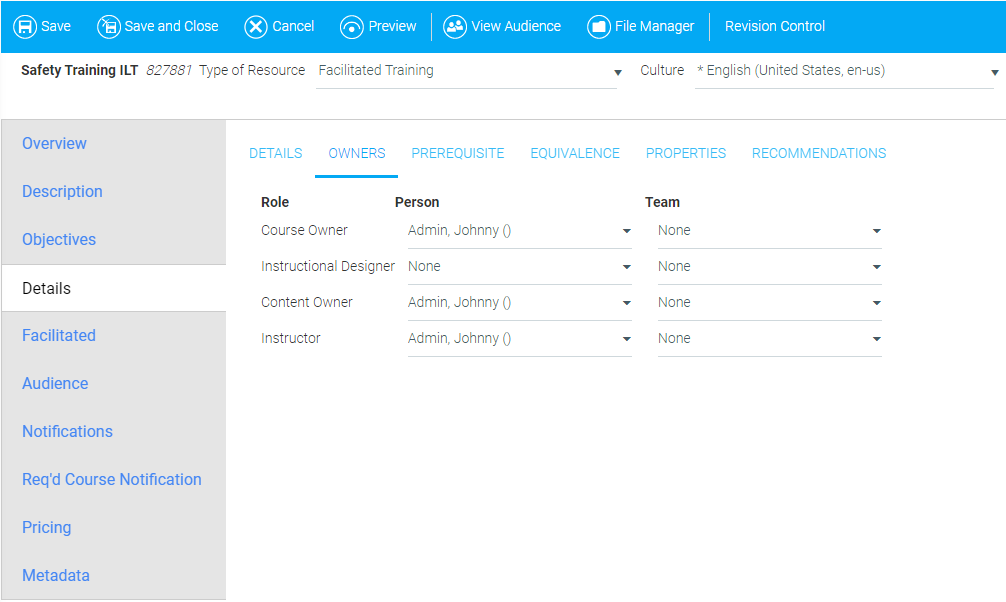
The Owners Sub-Tab allows you to assign a person or team to certain roles pertaining to the learning resource (e.g., Course Owner, Instructional Designer, Content Owner, and Instructor). The Instructor field applies to Facilitated (ILT) courses.
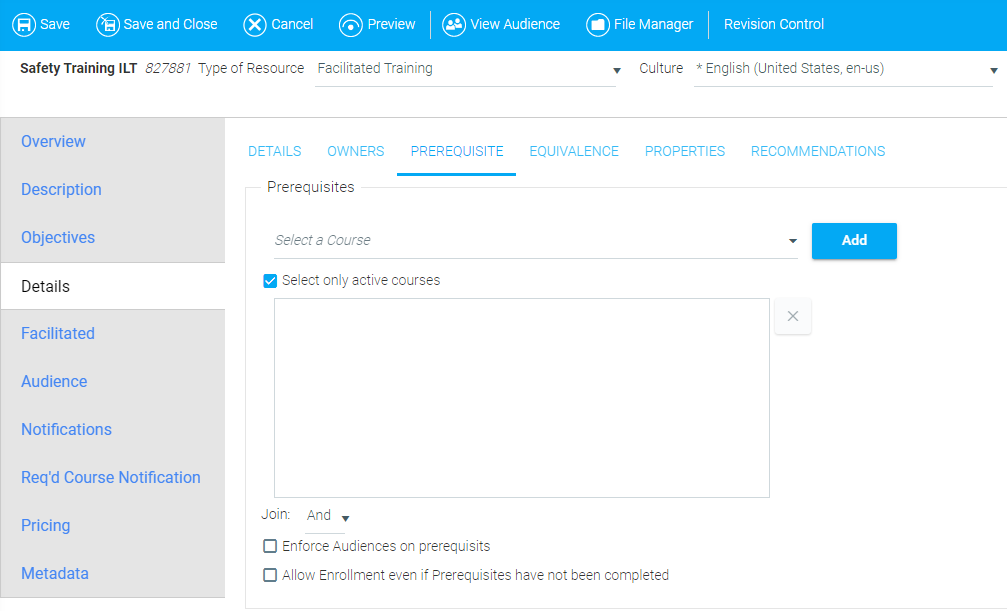
Setting a prerequisite for a resource prevents users from enrolling into the resource before the prerequisite is completed. You can set multiple learning resources to act as prerequisites. You can also enforce audience rules on prerequisite courses. For more information, see Managing Prerequisites.
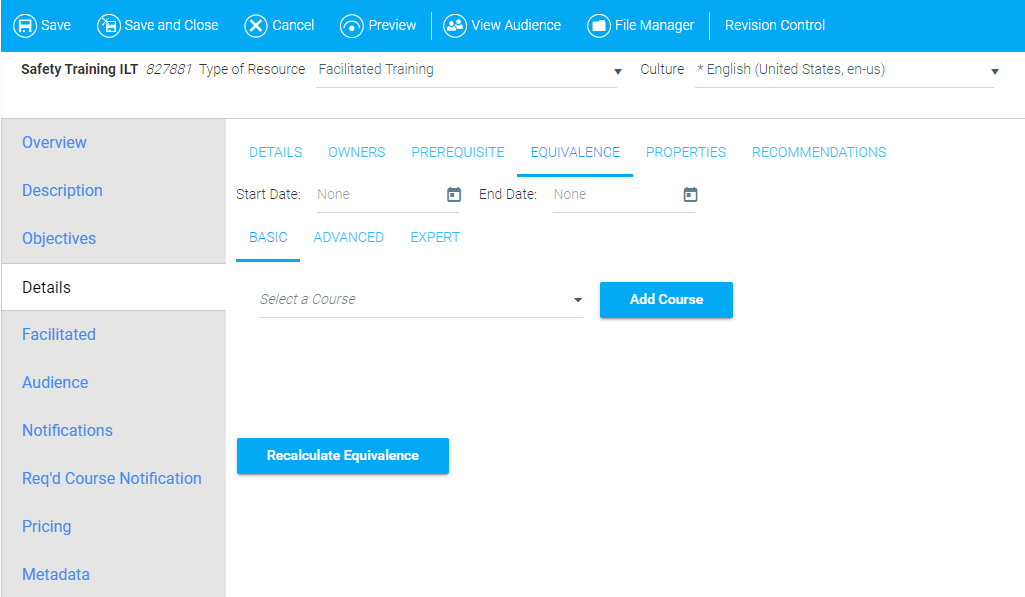
You can use this feature to assign equivalent courses to the learning resource. This means that when a user completes the equivalent course, this resource will also be marked complete.
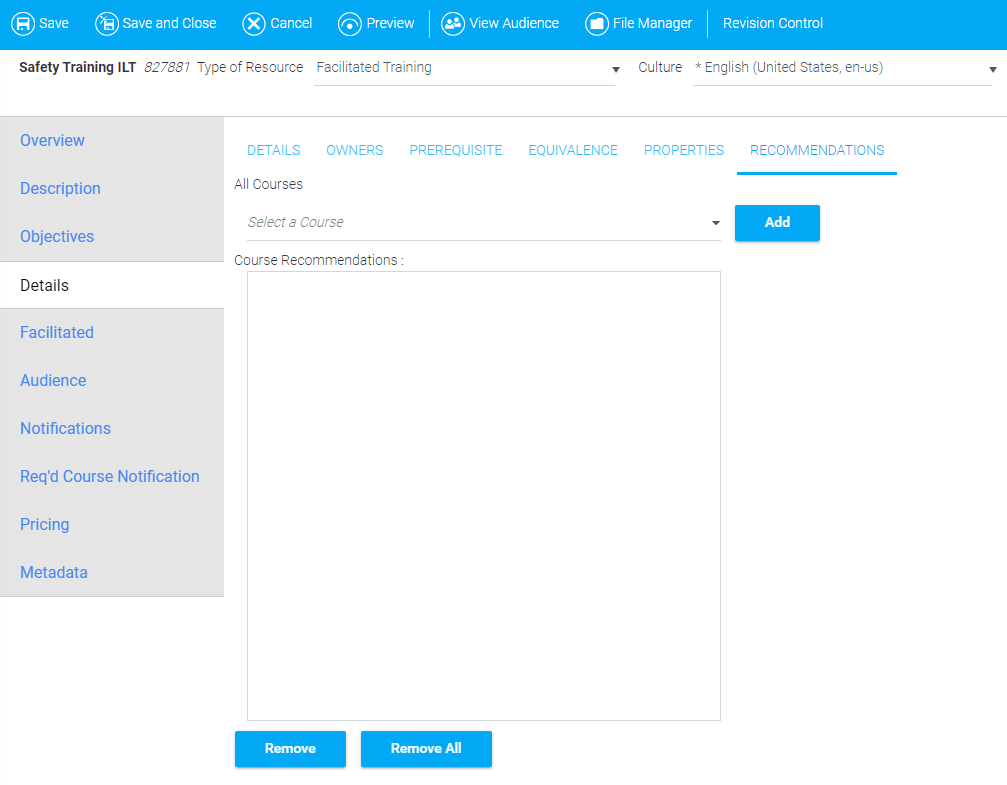
You can use this sub-tab to enter any recommended courses for users based on their completion of this resource. If this sub-tab is left blank, the Recommendations header will not be displayed on the Course Description page.
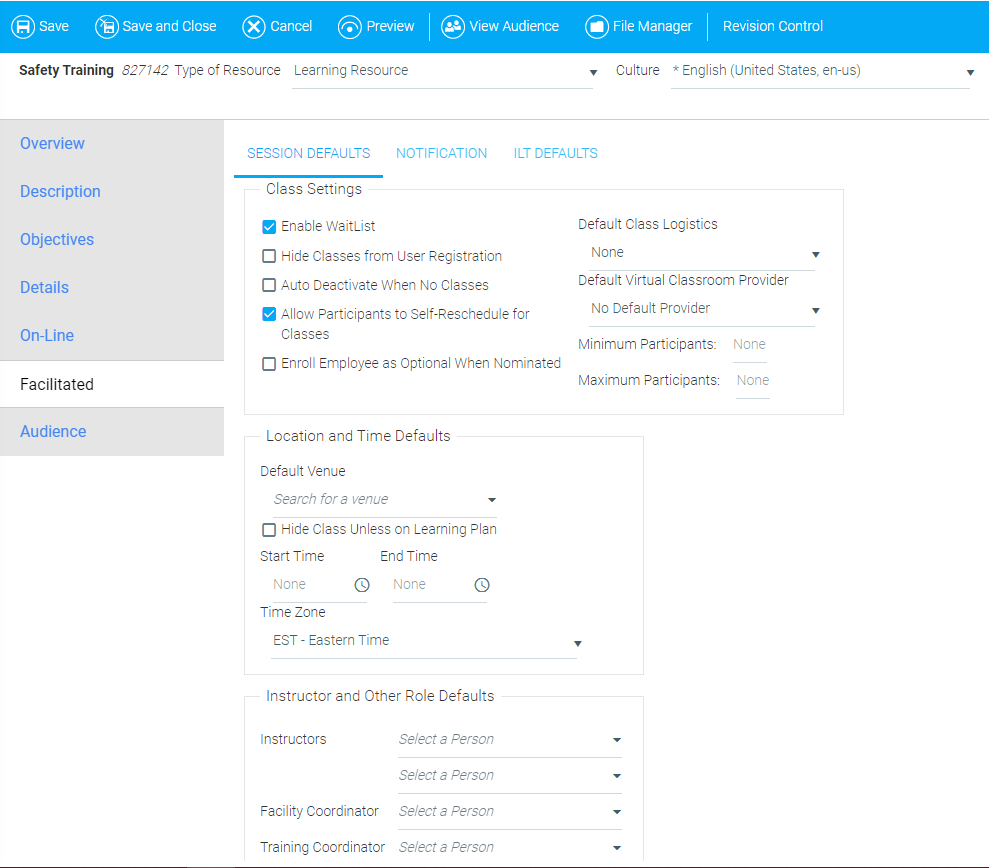
The Facilitated tab is used exclusively for Facilitated (ILT) learning resources.
Enable Waitlist: When checked, once a facilitated class is full, new registrants will automatically be placed on the waitlist.
Hide Classes from User Registration: When checked, users will not see the class listed in the Course Catalog or on the Class Calendar.
Auto Deactivate When No Classes: When checked, the resource will automatically set to Inactive when there are no scheduled classes.
Allow Participants to Self-Reschedule for Classes: When checked, participants can reschedule themselves into other open class sessions for the same course.
Default Class Logistics: Logistics forms are created on the Maintain Logistics Forms screen. If one is selected here, a link to the form will appear as part of the course description. The logistics form can also be selected for a particular class on the Maintain Facilitated Sessions screen.
Default Virtual Classroom Provider: Select a default virtual classroom provider for the facilitated resource.
Minimum and Maximum Participants: These fields define the class size. If the course does not have the waitlist enabled, then once the maximum number of participants has been reached, the system will no longer allow registrations into the class and participants will no longer see the session available for enrollment.
Default Venue: If populated, the location of classes is shown along with the course description. Additional locations can be added through the Maintain Venues screen.
Start Time and End Time: If populated, the time of classes is shown along with the course description.
Time Zone: If start and end times are filled in, be sure to select the Time Zone in which the session will be held for correct localization.
Instructors: Only users with an Instructor role in the system will be listed here. Additional instructors can be added to a specific class instance through the Maintain Facilitated Sessions screen. Note: If the resource has a team listed as Instructors on the Owners tab, then only the people in that Team will be listed here and those team members will be the only available instructors on the Maintain Facilitated Sessions screen.
Facility Coordinator: Only users with the Facility Coordinator role in the system will be listed here. The Facility Coordinator will receive automated email notifications prior to the class session.
Training Coordinator: Only users with the Training Coordinator role in the system will be listed here. The Training Coordinator will receive automated email notifications prior to the class session.
Participant Reminder: This is the email that will be sent to all enrolled participants. Use the drop-down to select the number of days before the class that the reminder should be sent.
Notify Instructor: This is the email that will be sent to the designated instructor(s). You can choose a number of days after registration closes or a number of days before the class starts to send the email. The class roster will automatically appear at the end of this email.
Notify Training Coordinator: This is the email that will be sent to the Training Coordinator, if selected. You can choose a number of days after registration closes or a number of days before the class starts to send the email.
Notify Facility Coordinator: This is the email that will be sent to the Facility Coordinator, if selected. You can choose a number of days after registration closes or a number of days before the class starts to send the email.
Notes and information about the physical resources needed for these class sessions (room, materials, cancellation policies, etc.) may be kept here. This information can be used by the administrator to ensure that the correct training room is reserved and that all necessary information is included.
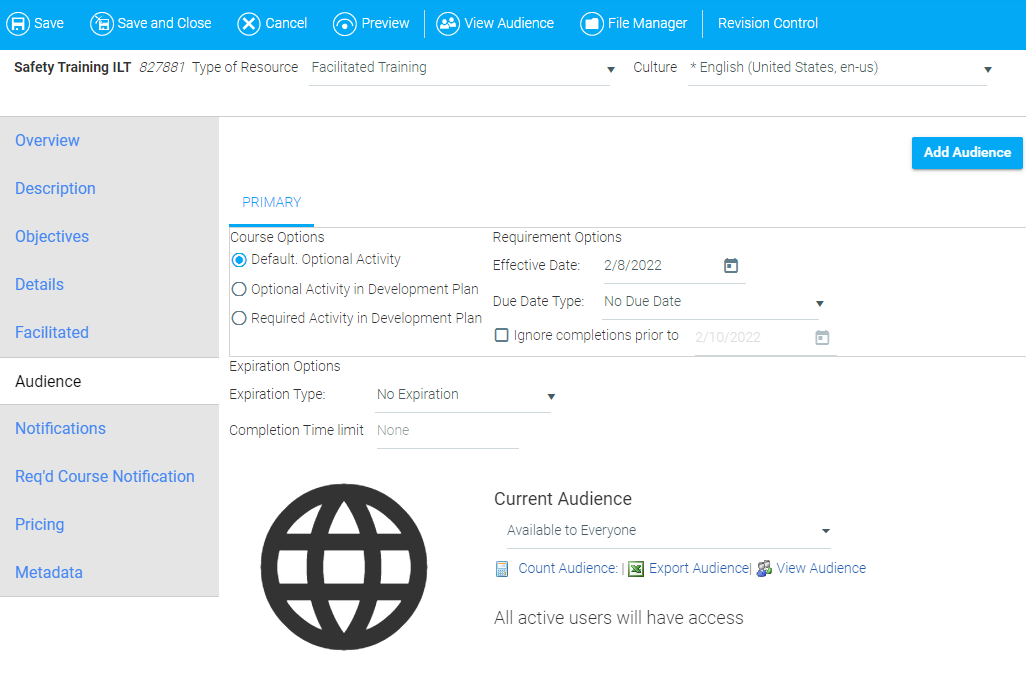
Use this screen to map a resource to a defined target audience. Audience mapping must be carefully considered as it is critical to the visibility and use of the resource to users. You can also use this screen to set expiration options and completion time limits.
For more detailed information on how to use this screen, see The Audience Tab.
NOTE: This tab is not necessary for Facilitated courses.
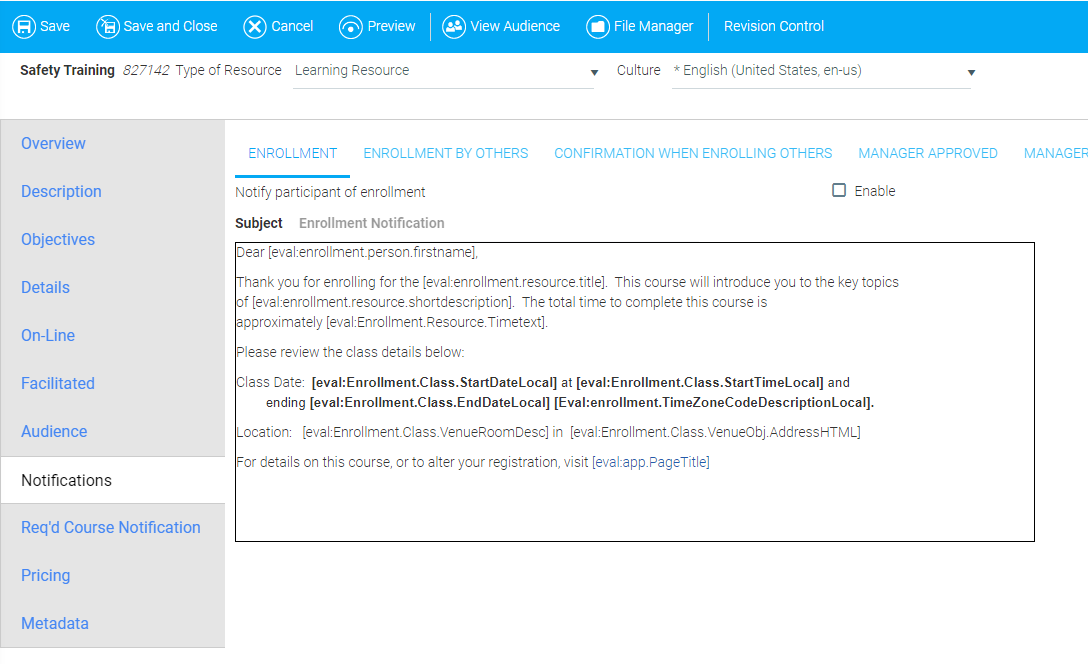
This tab allows you to enable and create custom text for notifications to be sent when certain circumstances occur, such as:
• Enrollment
• Enrollment by Others
• Confirmation when enrolling others
• Manager Approved
• Manager Decline
• Upon Completion - You can schedule a delay and copy a manager.
• Request Completion
• Course Expired - Set an Effective Date and Time Span. You can copy a manager.
• Enrollment (Waitlist)
• Drop Enrollment
• Student Rescheduled Waitlist
• Student Approval Expiration
• Manager Approval Request
• Manager Notification of Drop
• Enrollment by Others (Waitlist)
NOTE: This tab is not necessary for Facilitated courses.
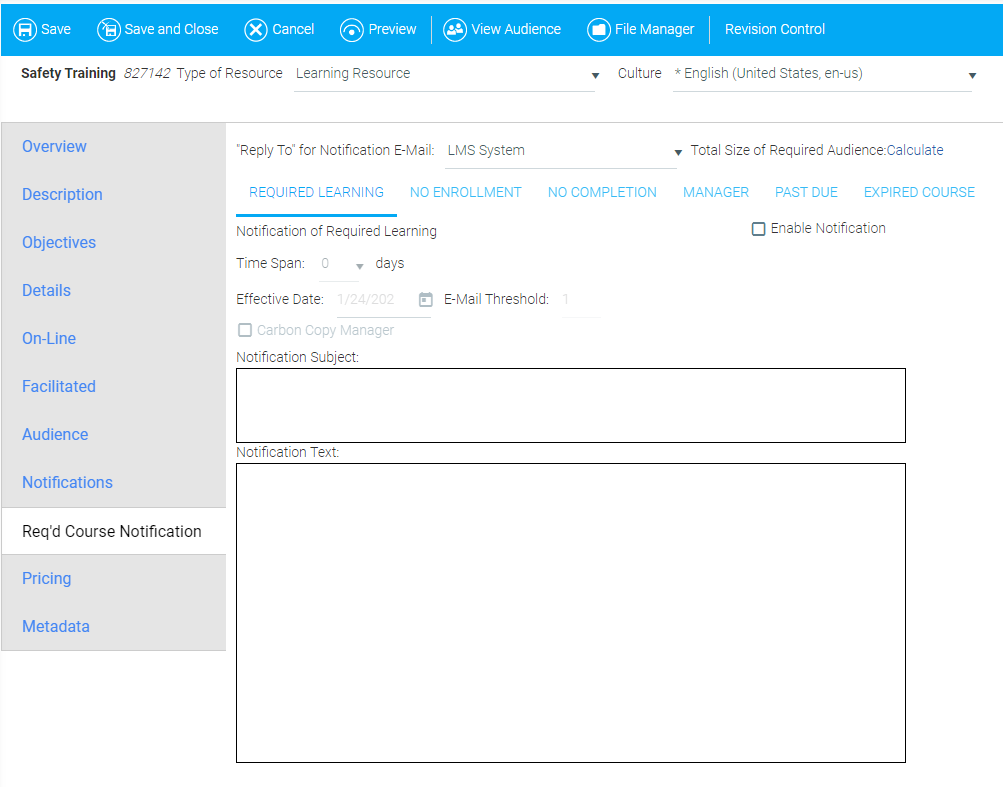
This tab allows notifications to be created and scheduled for required learning resources. These notifications can include:
• Required Learning
• No Enrollment
• No Completion
• Manager Reminder
• Past Due
• Expired Course
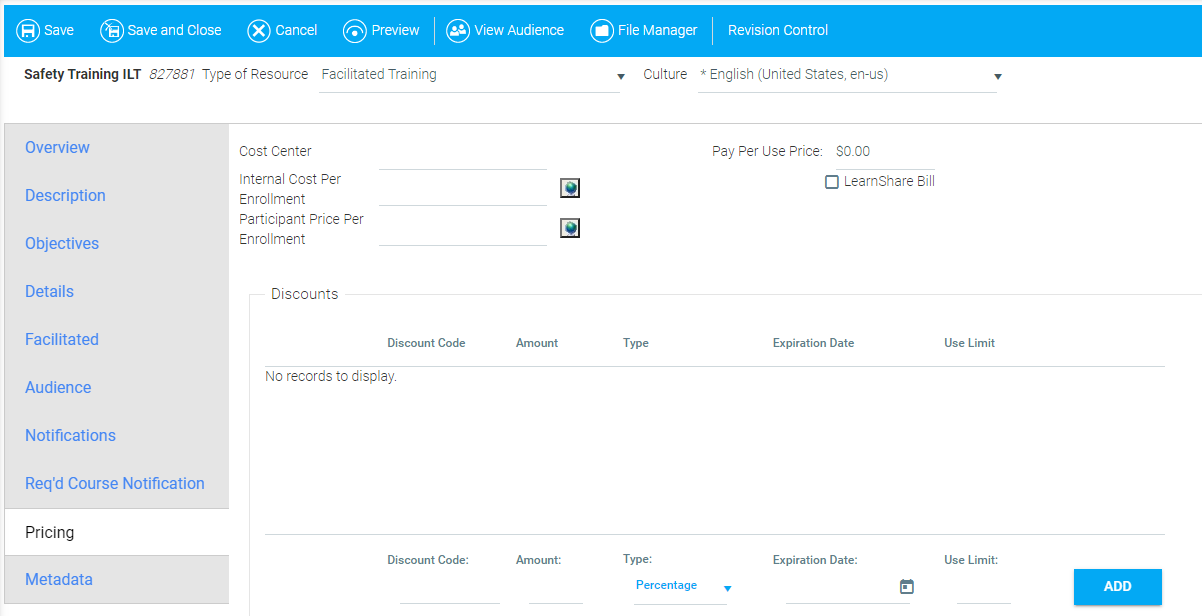
The Pricing tab allows a price to be set for pay-per-use resources. This screen may look different based on each organization's system configuration. For more detailed information, see The Pricing Tab.
Cost Center: Enter the company's internal cost center to be associated with charges for this resource if the cost for the resource is not to be directed to the user's cost center.
Internal Cost Per Enrollment: Enter the actual cost of the resource per enrollment.
Participant Price per Enrollment: Enter the price that will be charged to the participant per single enrollment in this resource. This price will be displayed on the Learning Resource Detail screen, the Approval Process, all enrollment confirmations, reporting, and any notices that include pricing.
Pay Per Use Cost: This is a read only field that reflects the retail price per course if your organization is using pay-per-use pricing.
Audience Pricing: This feature allows administrators to set different prices for different user groups.
Discounts: This section allows administrators to enter a code and a specific monetary amount or percentage that should be associated with that code. When the user enters this code into their shopping cart, they will receive the specified discount.
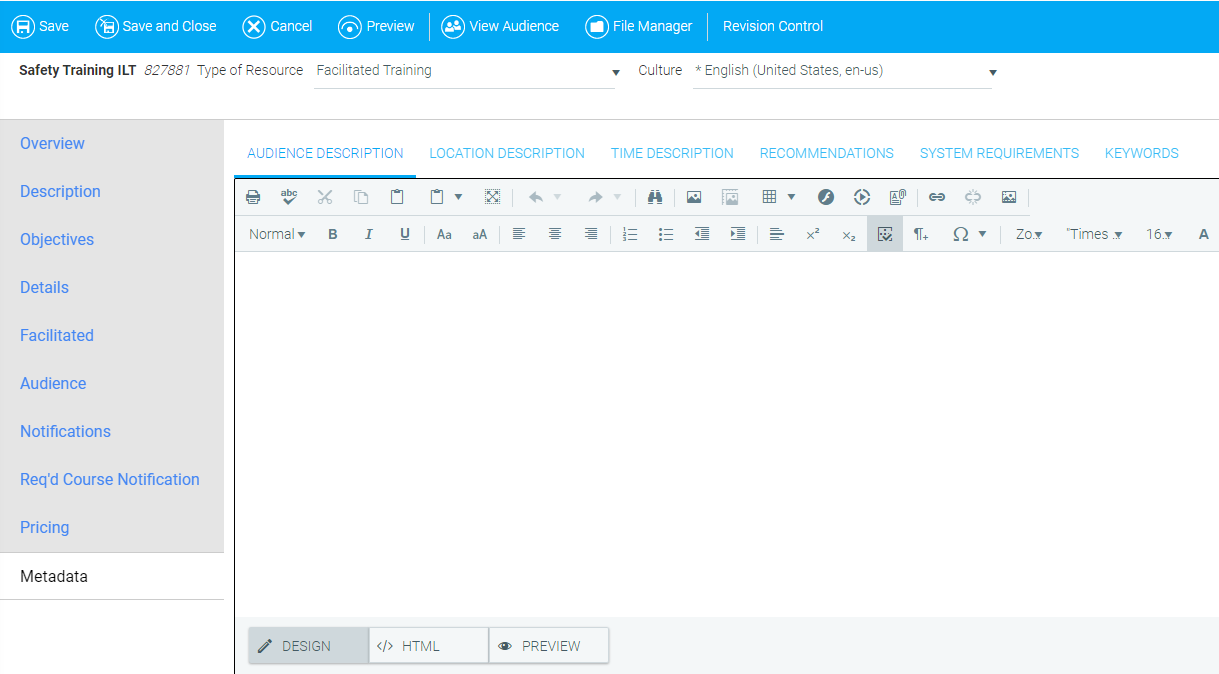
The optional Metadata tab includes several sub-tabs that can be used to describe the resource.
Audience Description: Enter a brief description of the target audience. This description can be viewed on the Course Description page.
Location Description: Use this field to describe where the course will occur. If configured, this description will appear on the Course Description page.
Time Description: Enter approximately how long the course will take. This description can be viewed on the Course Description page.
Recommendations: Enter any recommendations about the course for your users. If this tab is left blank, the Recommendations header will not be displayed on the Course Description page.
System Requirements: Enter any system requirements that your users need to know in order to ensure that the course will correctly display on their computer.
Keywords: When a user searches for a course in the catalog, by default the LMS will search by any word that appears in the Course Title or Course Description. You can add additional keywords or search terms pertaining to the resource in this field. All words should be separated with a comma.